Installing indoor sports wooden flooring is a meticulous process that requires careful planning, precise execution, and strict adherence to technical standards. A poorly installed floor will never perform correctly, no matter how high-quality the materials are.
The process begins with subfloor preparation. The existing concrete or wooden subfloor must be completely flat, clean, dry, and structurally sound. Any cracks, bumps, or moisture issues must be addressed before any flooring materials are laid. For concrete subfloors, a moisture barrier is typically applied to prevent water vapor from rising into the wood. The floor is then tested for moisture content using a calcium chloride test or a relative humidity probe. The acceptable moisture level is usually below 75% relative humidity or below 3% moisture content for concrete.
Once the subfloor is ready, the next step depends on the flooring system. For a floating system, elastic shock-absorbing pads are laid across the entire subfloor in a grid pattern. These pads are critical for performance — they provide the shock absorption and vibration damping that protect athletes' joints. The pads must be laid evenly with no gaps or overlaps.
Next, the wood planks are installed. In a floating system, the planks are typically laid in a staggered pattern, with each row offset from the previous one. The planks are not glued or nailed to the subfloor — they rest on the pads and are held together by their tongue-and-groove joints. In a fixed system, the planks are nailed or screwed directly into the subfloor at regular intervals.
After the planks are installed, the floor must be acclimatized. This means allowing the wood to adjust to the temperature and humidity of the indoor environment for at least 48 to 72 hours. During this time, the wood will expand or contract slightly to reach equilibrium with its surroundings.
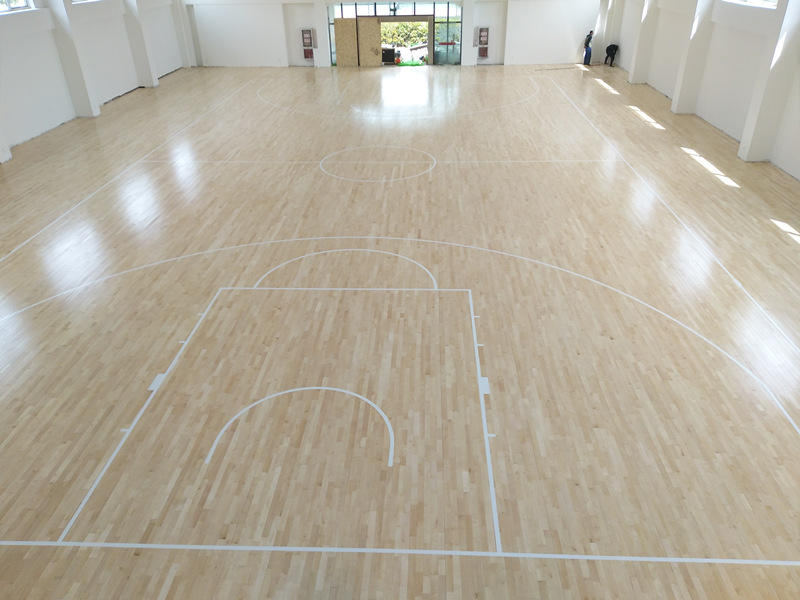
The final steps include sanding the entire surface to remove any unevenness, applying a sports-specific finish (usually a water-based polyurethane), and painting any required court lines or logos. The finish must provide the right balance of friction — enough grip for athletic shoes, but not so much that it causes abrasion or slows down ball movement.
The entire installation process typically takes several days to a few weeks, depending on the size of the area and the complexity of the system. Professional installation is strongly recommended, as even small errors can have a significant impact on floor performance.
Leave a Reply