

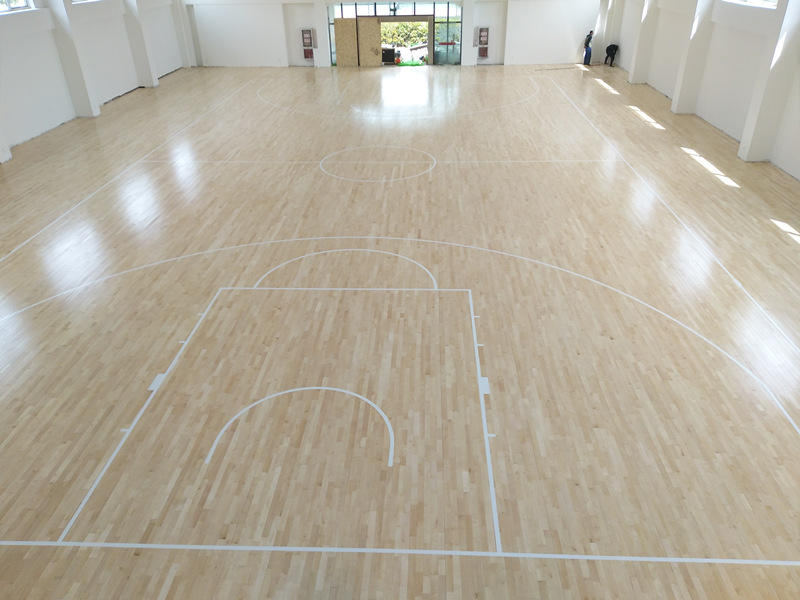
Installing indoor sports wooden flooring is one of the most technically demanding construction tasks in the building industry. Unlike residential hardwood flooring, which can often be installed by a skilled DIYer, sports wood flooring requires specialized knowledge, precision equipment, and strict adherence to industry standards. A poorly installed sports floor can lead to catastrophic performance failures, including inconsistent ball bounce, surface warping, and even safety hazards. This article walks you through the complete installation process, step by step.
The first step in any sports wood flooring installation is site preparation. This begins with inspecting the sub-floor, which is typically a concrete slab. The concrete must be completely cured (at least 28 days old for standard concrete, longer for heated slabs) and must have a moisture vapor emission rate (MVER) of no more than 3 pounds per 1,000 square feet per 24 hours. Any moisture problems must be addressed before installation begins, typically through the application of a moisture-blocking membrane or epoxy coating.
The sub-floor must also be extremely flat. The industry standard for flatness is a maximum deviation of 3 millimeters over any 3-meter span. If the concrete does not meet this standard, a self-leveling compound must be applied to bring it within specification. Any high spots must be ground down, and any low spots must be filled.
Once the sub-floor is prepared, the next step is to lay down a moisture barrier. This is typically a polyethylene sheet, at least 6 mil thick, that is laid over the entire surface and sealed at all seams with tape. The moisture barrier prevents any residual moisture from the concrete from migrating up into the wood flooring, which could cause warping, cupping, or mold growth.
Following the moisture barrier, a foam underlayment or shock pad is installed. This layer provides the primary shock absorption for the floor and also helps to level out any minor imperfections in the sub-floor. The thickness of the underlayment is chosen based on the target performance specifications for the floor. For basketball courts, a thicker underlayment may be used to achieve the required shock absorption.
The next step is the installation of the plywood sub-floor. This is typically birch plywood, laid in a staggered pattern with the seams offset from panel to panel. The plywood panels are secured to the sub-floor using appropriate fasteners — either ring-shank nails or screws, depending on the manufacturer's specifications. The plywood must be acclimated to the facility's environment for at least 48 hours before installation.
Once the plywood sub-floor is in place and has been checked for flatness (with a maximum deviation of 2 millimeters over any 3-meter span), the hardwood flooring panels can be installed. The panels are typically 70 millimeters to 80 millimeters wide and are laid in a pattern that distributes the seams evenly across the court. The panels are secured to the plywood using either a floating installation method (where the panels are glued together but not fastened to the sub-floor) or a nailed-down method (where the panels are fastened through the tongue into the plywood).
The floating installation method is generally preferred for professional sports floors because it allows the floor to expand and contract with changes in humidity without being constrained by the sub-floor. This method requires the use of a high-quality sports adhesive to bond the panels together at the tongue and groove joints.
After all the panels are installed, the floor must be sanded to achieve a perfectly flat, smooth surface. This is done using a drum sander or an edger, followed by progressively finer grits of sandpaper. The sanding process removes any high spots, smooths out the seams between panels, and prepares the surface for the finish coat.
The final step is the application of the finish. Sports wood floors typically receive multiple coats of a water-based polyurethane finish, with light sanding between each coat. The number of coats varies depending on the desired level of gloss and the specific requirements of the sport. For basketball courts, a matte finish is typically used to reduce glare. For volleyball or handball courts, a slightly glossier finish may be preferred.
The entire installation process, from site preparation to final finish, can take anywhere from two to six weeks, depending on the size of the facility and the complexity of the job. It is absolutely essential that every step is performed by trained professionals who understand the unique requirements of sports flooring. Cutting corners during installation will almost certainly result in performance problems that will be expensive and difficult to fix.
Leave a Reply