Installing hardwood flooring for an indoor basketball court is one of the most demanding projects in the flooring industry. It requires precision, patience, and expertise at every stage.
The process begins with the subfloor. The most common subfloor for indoor basketball courts is poured concrete, typically four to six inches thick. Before any wood is laid, the concrete must be cured for a minimum of twenty-eight days and its moisture content must be tested. If moisture levels exceed the threshold, a moisture barrier or vapor retarder must be installed. In some cases, a floating floor system is used, where the hardwood is not glued directly to the subfloor but instead sits on top of a foam or rubber underlayment.
Acclimatization is the next critical step. The hardwood planks must be stored in the installation environment for at least forty-eight to seventy-two hours before installation. This allows the wood to adjust to the temperature and humidity of the space, preventing later expansion or contraction.
For traditional nail-down installations, the planks are staggered and secured to the subfloor using cleats and flooring nails. The spacing between boards is typically three-eighths of an inch to allow for seasonal movement. For glue-down installations, a high-strength adhesive is applied to the subfloor, and each plank is pressed firmly into place. Glue-down installations tend to produce a more stable, less noisy floor, which is why they are preferred for competitive courts.
Floating installations, which have gained popularity in recent years, involve locking the planks together without any fasteners or adhesive. The entire floor essentially floats above the underlayment. This method is faster to install and easier to repair, though it may not provide quite the same level of rigidity as nailed or glued floors.
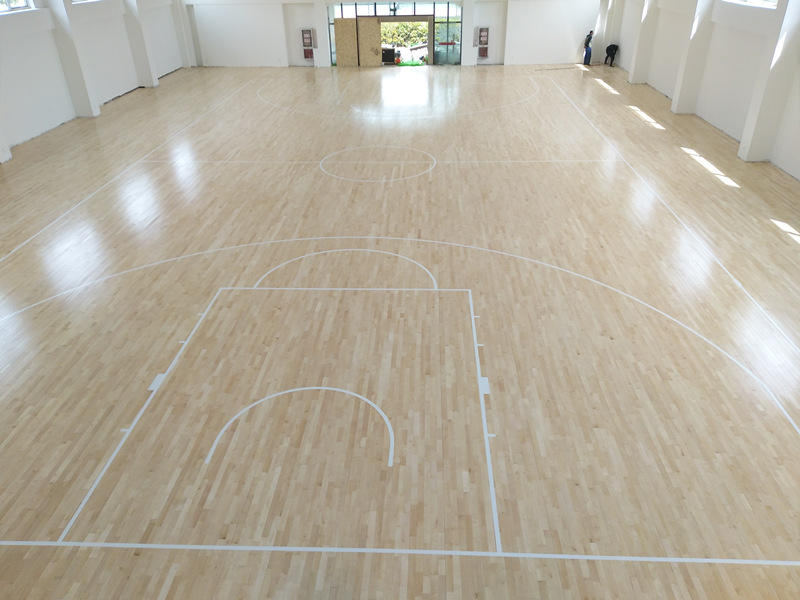
After installation, the floor must be sanded to ensure a perfectly level surface. This involves multiple passes with progressively finer grit sandpaper. Once sanding is complete, the finish is applied, typically in three to five coats of polyurethane or a sport-specific floor finish. Each coat must dry completely before the next is applied, a process that can take several days.
Line painting comes last. The court lines, center circle, and three-point arc are painted using specialized sport floor paint that adheres to the finish without peeling or fading.
The entire installation process, from subfloor preparation to final line painting, typically takes two to four weeks for a full-size court, depending on the method used and the condition of the facility.
Leave a Reply