The installation of a modular indoor basketball court wood floor is a systematic, precision-driven process that cannot be rushed, as even small errors in any step will compromise the entire floor’s performance and lifespan. The very first step is a full inspection of the concrete subfloor, where installers use a 2-meter straight edge to check for uneven spots, ensuring that no point on the subfloor has a height difference greater than 3 millimeters. Any raised concrete bumps are ground down, and any low depressions are filled with self-leveling cement, creating a perfectly flat, solid base that will not cause uneven stress on the layers above. The entire subfloor is then swept, scraped, and vacuumed completely free of all dust, cement chips, and construction debris, as even a small hard pebble left under the moisture barrier will create a noticeable bump on the finished playing surface.
Once the subfloor is fully prepared, the 3-millimeter thick mineral wool moisture barrier is rolled out across the entire area, with every overlapping seam taped shut with waterproof sealing tape. After the moisture barrier is secured, installers snap chalk lines across the floor to mark the exact positions of the keels, ensuring every keel is spaced exactly 400 millimeters apart. Each keel is laid down over a small rubber shock pad, and adjusted with thin shims until a laser level confirms the top of every keel is perfectly at the same height across the entire court. The keels are then fastened to the concrete subfloor with heavy-duty expansion bolts, creating a rigid, level framework that will not shift or wobble even under the heaviest athletic loads.
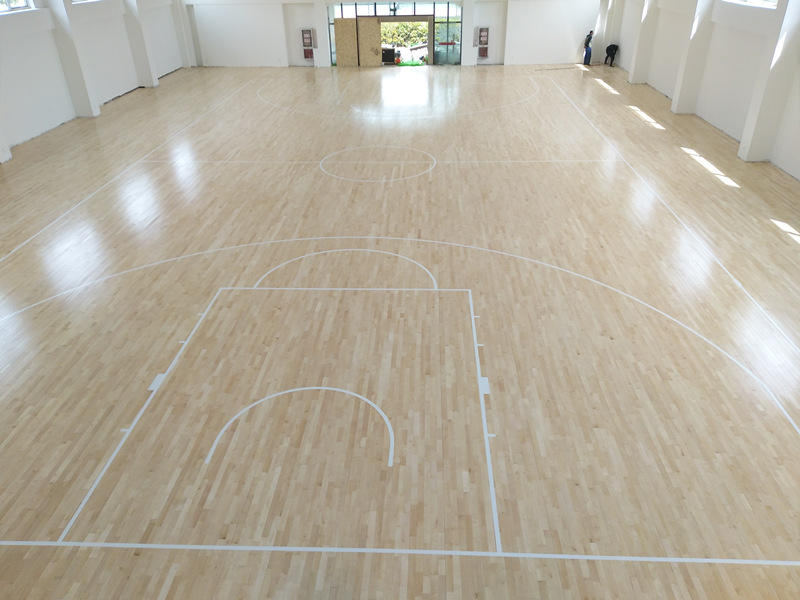
Next, the oriented strand board base layer is laid across the keels, with the long edge of each board running perpendicular to the keels below. Every joint between two base boards is positioned directly over the center of a keel, so there are no unsupported, floating edges that could crack under heavy foot traffic. A 3-millimeter gap is left between every adjacent base board to allow for minor thermal expansion, and every board is secured to the keels with corrosion-resistant steel screws, with screw heads countersunk slightly below the board surface to avoid creating sharp points that could puncture the moisture membrane above. After the base layer is fully secured, a second thin polyethylene moisture membrane is rolled out over its surface, before the final hardwood planks are laid down. The hardwood planks are installed with their long edges running parallel to the main direction of natural light entering the venue, creating a clean visual effect and reducing glare for players. Each plank is fastened to the base layer at a 45-degree angle with specialized L-shaped steel nails, so the nail heads are completely hidden inside the tongue-and-groove joint, leaving a smooth, unbroken top surface.
Leave a Reply