

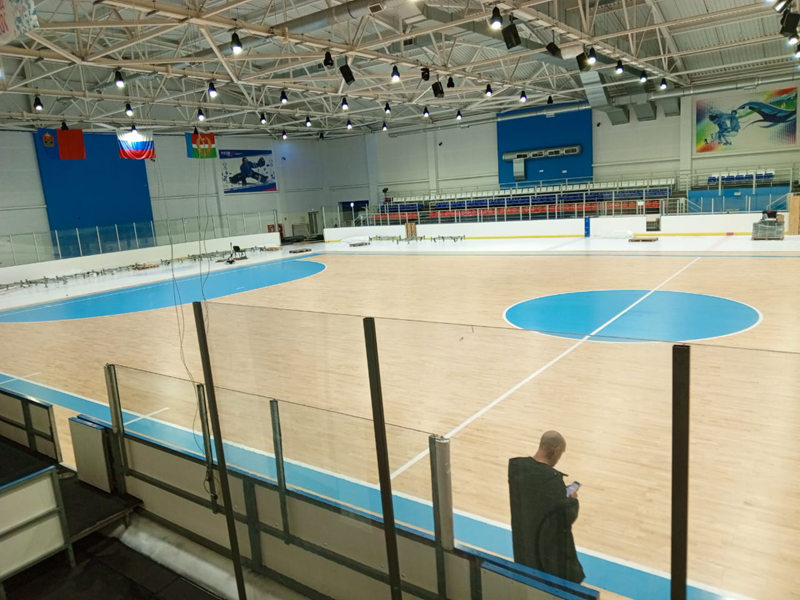
Installing wood flooring in an indoor gym is not the same as installing it in a bedroom or living room. Gym floors face unique challenges: heavy equipment loads, constant foot traffic, moisture from sweat, and the need for a perfectly flat, stable surface for Olympic lifting and plyometrics. Getting the installation right the first time is absolutely critical. Here is a detailed step-by-step guide.
Step 1: Prepare the Subfloor
The subfloor is the foundation of your gym floor, and it must be flawless. For concrete slabs, ensure the surface is clean, dry, and level. Use a self-leveling compound to fill any low spots. Test the moisture level using a calcium chloride test or a relative humidity probe — the subfloor moisture should be below 75 percent relative humidity. For plywood subfloors, check for loose boards, squeaks, or uneven areas and repair them before proceeding. The subfloor must be within 3/16 of an inch of level across a 10-foot span. Any deviation will cause the wood to shift, gap, or buckle over time.
Step 2: Install a Moisture Barrier
Moisture is the number one enemy of wood flooring. Even in a climate-controlled gym, sweat and spills can seep into the subfloor over time. Install a 6-mil polyethylene vapor barrier over the entire subfloor. Overlap seams by at least 6 inches and tape them securely with moisture-resistant tape. This barrier prevents ground moisture from rising into the wood and protects against accidental spills.
Step 3: Choose the Right Installation Method
For gym floors, nail-down installation is strongly recommended. This method involves fastening the planks directly to the subfloor using cleats or a pneumatic nailer. It provides the most stable, secure connection and minimizes movement under heavy loads. Floating installation is acceptable for engineered wood in some cases, but it is less ideal for gym environments where stability is paramount. A floating floor can shift under heavy barbells or during explosive movements, which is both a performance issue and a safety hazard.
Step 4: Acclimate the Wood
Wood must acclimate to the gym environment for at least 48 to 72 hours before installation. Store the planks in the room where they will be installed, stacked flat, with spacers between bundles to allow air circulation. This prevents expansion or contraction after installation. Skipping this step is one of the most common causes of flooring failure.
Step 5: Install with Proper Expansion Gaps
Leave a 3/8-inch expansion gap around the entire perimeter of the room. This gap is covered by baseboards and allows the wood to expand and contract with temperature and humidity changes. Without this gap, the floor will buckle, cup, or crack. Many DIY installers forget this step, and the results are costly.
Step 6: Finish and Seal
Apply a high-quality polyurethane finish or a penetrating oil finish to protect the surface. For gym floors, a satin or semi-gloss finish is recommended. It provides good durability without being overly slippery. Avoid high-gloss finishes, which can become dangerously slick when sweat or chalk is present.
Proper installation is the difference between a gym floor that lasts 30 years and one that fails in five. Take the time to do it right, or hire a professional who understands gym-specific requirements.
Leave a Reply