

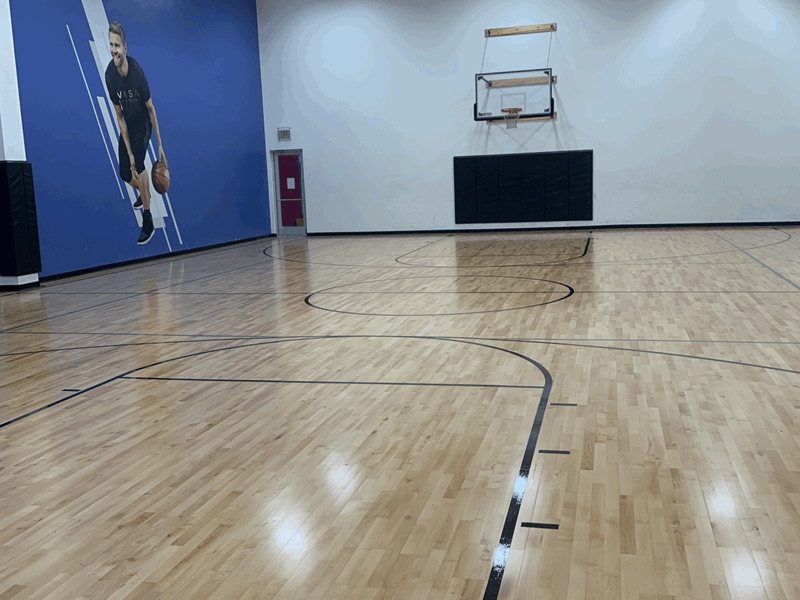
Even the highest quality wood materials and the most carefully designed layered system will fail to deliver the expected performance benefits if indoor basketball court wood flooring is not installed correctly. Installation is one of the most critical stages of creating a new basketball court, and it requires careful attention to hundreds of small details that can have a huge impact on how the floor plays and how long it lasts. The very first step of a proper installation process is not even touching the wood itself: it is testing and preparing the concrete subbase of the venue. The concrete must be completely level, with no high spots or low spots that would create uneven pressure points under the flooring system, and its moisture content must be carefully tested to ensure that it is not releasing excess moisture that could damage the wood. If the concrete is too damp, installers will lay down a full moisture barrier before any other components are placed, to block any moisture vapor from seeping up into the wood structure. Skipping this step is one of the most common causes of premature wood floor failure, leading to warped planks, mold growth, and a dangerous uneven playing surface within just a few years of installation.
Once the subbase is properly prepared, the next critical step is acclimating the wood materials to the environment of the venue before installation begins. Wood is a natural, hygroscopic material, which means it will absorb or release moisture to match the humidity of the air around it. If the wood planks are delivered directly from a climate-controlled warehouse and installed immediately in a gym with very different humidity levels, they will expand or contract dramatically after installation, creating huge gaps between planks or buckling upwards off the subfloor. Professional installation teams will unpackage all the wood planks and leave them spread out across the court for several days, allowing them to equalize to the exact temperature and humidity conditions of the venue before any fastening begins. During this acclimation period, installers will test the moisture content of the wood daily, only starting installation once the moisture level of the wood is within 2% of the equilibrium moisture content for that specific venue’s environment. This simple step eliminates 90% of the common long-term issues that plague poorly installed indoor basketball court wood flooring.
As the installation progresses, every component must be placed with precise attention to spacing and alignment. The resilient base pads must be spaced exactly according to the system’s engineering specifications, with no missing pads or pads that are misaligned, to ensure that shock absorption is identical across every single square foot of the court. The sleepers must be checked with a level multiple times during installation to make sure they form a perfectly flat, even plane, and the subfloor panels must be fastened with hundreds of screws to eliminate any squeaks or movement that could create dead spots. When the top wood planks are laid, installers leave tiny, calculated expansion gaps around all the edges of the court, next to the walls and any fixed structures, to give the wood room to expand when humidity levels rise in the summer. Finally, the multi-stage sanding process must be done with careful, even passes across the entire surface, to avoid creating low spots or uneven texture that would make some areas of the court more slippery than others. When all these steps are executed correctly, the result is an indoor basketball court wood flooring system that feels perfectly consistent from baseline to baseline, with no weak spots, no squeaks, and no unexpected issues for decades to come.
Leave a Reply