Installing a detachable indoor sports wood flooring system is a process that rewards precision and patience. While it is significantly faster and less risky than installing a traditional fixed floor, it still requires careful execution to ensure optimal performance. Here is a comprehensive walkthrough of how the process typically unfolds.
The first step is always site preparation. Before any panels are laid, the subfloor must be inspected and brought to the required condition. The surface should be level, clean, dry, and free of debris. Any high spots must be ground down, and any low spots must be filled. Moisture levels in the concrete or plywood subfloor should be tested and confirmed to be within acceptable limits. Excess moisture is the enemy of any wood flooring system, and detachable floors are no exception.
Once the subfloor is ready, a moisture barrier is typically installed. This is a thin sheet of polyethylene or similar material that prevents moisture from migrating upward into the flooring system. Even though detachable floors have some tolerance for moisture variation, a barrier adds an essential layer of protection and extends the life of the entire system.
Next comes the shock-absorption layer. In most detachable sports flooring systems, this is a pre-cut foam or rubber mat that is laid across the entire area in a grid pattern. The thickness and density of this layer are calibrated to meet the performance requirements of the intended sport. For basketball, the shock absorption needs to be higher than for volleyball, for example. This layer is critical not just for athlete safety but also for the floor's ball rebound and energy return characteristics.
After the shock-absorption layer is in place, the panels can be laid. This is where the modular design truly shines. Each panel is placed next to its neighbor, and the interlocking mechanism engages. Depending on the system, this connection might be a tongue-and-groove joint, a click-lock system, or a mechanical fastener. The key is that no adhesives are used at this stage. The panels simply sit on top of the shock-absorption layer and hold each other in place through their connection design.
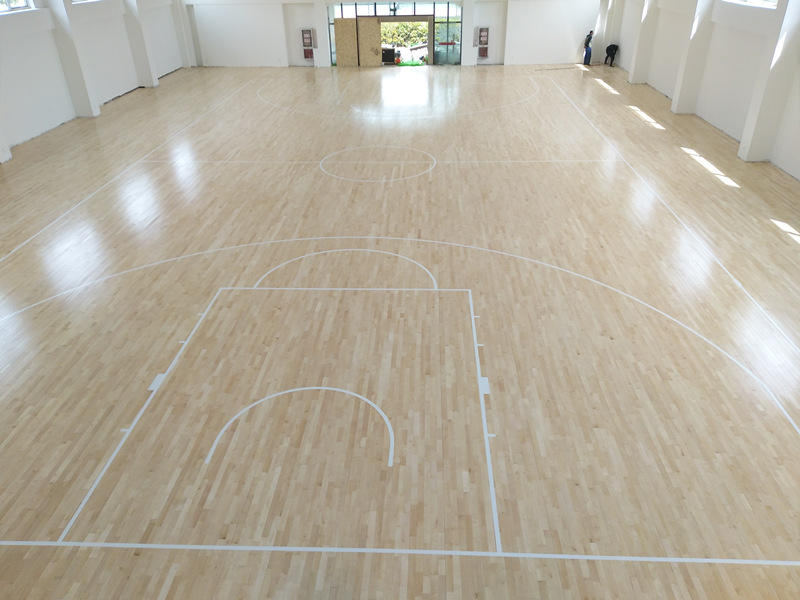
As the panels are laid, special attention must be paid to alignment. The seams between panels should be tight and even, with no gaps or lips. Any misalignment will affect the playing surface and can create trip hazards. Most systems include alignment guides or markers to help installers maintain consistency across the entire floor.
Once all panels are in place, the final step is inspection and adjustment. The installer will walk the entire floor to check for any loose panels, uneven spots, or connection issues. Any problems are corrected on the spot. A final surface test is conducted to verify that the floor meets the required standards for flatness, friction, and ball rebound.
The entire process, for a standard-size court, can typically be completed in three to five days by a crew of four to six installers. Compare this to the two to four weeks often required for a fixed flooring installation, and the time savings become obvious.
One important note: while the installation process is straightforward, it is not a DIY project for most people. The precision required for a sports floor means that professional installation is strongly recommended. Cutting corners during installation can lead to performance issues that are expensive to fix later.
Leave a Reply