

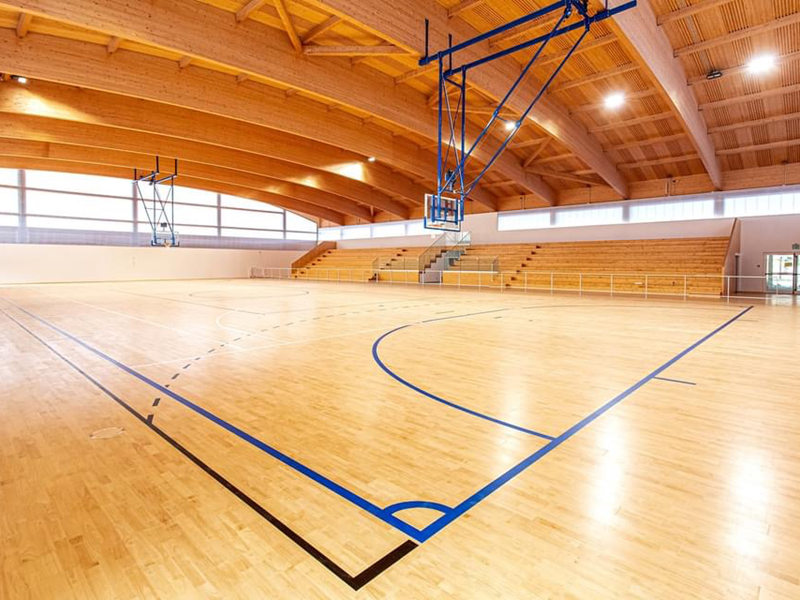
Installing high-quality basketball court wood flooring is a careful, step-by-step process that requires precision, attention to detail, and years of experience to get right. It is not just a matter of nailing planks down to a concrete slab—every single step of the process matters, and a small mistake early on can cause big problems for the floor’s performance years down the line. When done correctly, though, the result is a perfectly flat, perfectly responsive court that will give players decades of safe, enjoyable play.
The very first step in the process is preparing the concrete base of the gym. The concrete has to be completely level, dry, and cured properly before any work on the wood floor can begin. Installers will test the moisture levels in the concrete thoroughly, to make sure there is no excess water trapped inside that could seep up into the wood later. If there are any low spots or high spots on the concrete, they are fixed first, because even a tiny uneven patch in the concrete will show through the entire floor later, creating a bump on the playing surface. A moisture barrier is then laid down over the entire concrete slab, to block any future moisture from rising up into the wood structure.
Next, the resilient support pads are placed down at precise, evenly spaced intervals across the entire surface. These pads are carefully measured and positioned, so every single one is exactly the same distance apart, to ensure that the shock absorption is perfectly consistent across the whole court. After the pads are all in place, the network of wooden sleepers is laid down on top of them, secured with screws to hold everything firmly in place. Installers will check the level of these sleepers multiple times as they work, using long straight edges to make sure there are no high or low points anywhere in the framework.
Once the sleeper framework is fully inspected and approved, the base layer of paneling is screwed down over the entire structure. This creates a solid, uniform base that covers every inch of the court, and installers make sure all the seams between the panels are tight and smooth, with no gaps or raised edges. Then, the top hardwood planks are laid down, usually running along the length of the court from baseline to baseline. Each plank is nailed or stapled down carefully to the base layer, with the exact correct gap left between each plank to allow for future expansion from humidity changes.
After all the planks are fully installed, the finishing work begins. First, the entire surface of the new floor is sanded down multiple times, with progressively finer grits of sandpaper, to make the surface perfectly smooth, flat, and even. The lines for the court are painted on next, using high-quality, durable paint that will not peel or wear off quickly. Finally, multiple coats of clear sports floor finish are applied, with light sanding between each coat, to create a hard, protective top layer that gives the floor its perfect traction and shine. Once the final coat is fully cured, the brand new basketball court wood flooring is ready for players to step onto and start playing.
Leave a Reply