The installation of indoor sports wooden flooring is a complex and highly specialized process that requires skilled craftsmen, precise equipment, and strict adherence to industry standards. A poorly installed floor can lead to a host of problems, including uneven surfaces, squeaking, warping, and reduced performance. In this article, we will take a detailed look at the step-by-step process of installing indoor sports wooden flooring.
The first step in the installation process is site preparation. Before any flooring can be laid, the subfloor must be thoroughly inspected and prepared. The subfloor is typically made of concrete, and it must be completely level, clean, dry, and free of any contaminants. Any cracks, bumps, or imperfections in the concrete must be repaired before proceeding. The moisture content of the concrete must also be tested, as excessive moisture can cause the wood to warp and buckle over time. A moisture barrier is usually installed between the concrete and the wood to prevent moisture from migrating upward.
The next step is the installation of the shock absorption system. This is one of the most critical components of a sports wooden floor, as it is responsible for providing the cushioning that protects athletes from impact-related injuries. There are several types of shock absorption systems available, including rubber pads, foam pads, and spring-loaded systems. The choice of system depends on the specific performance requirements of the facility and the sport that will be played on it. The shock absorption system is laid out on the subfloor according to a precise pattern, and each component is carefully aligned to ensure uniform performance across the entire floor.
Once the shock absorption system is in place, the next step is the installation of the moisture barrier. This is a thin layer of polyethylene or similar material that is laid over the shock absorption system to prevent any residual moisture from the concrete from reaching the wood. The moisture barrier is overlapped at the seams and sealed with tape to ensure a complete seal.
The wooden floor panels are then installed on top of the moisture barrier. The panels are typically laid in a staggered pattern, similar to bricklaying, to ensure structural stability and even distribution of loads. The panels are secured to the subfloor using either nails, screws, or adhesive, depending on the installation method. For professional sports floors, the adhesive method is often preferred because it provides a more secure bond and eliminates the risk of squeaking.
After all the panels are installed, the floor is leveled using specialized equipment. Any high spots are sanded down, and any low spots are filled with a leveling compound. The entire floor is then checked for flatness using a long straightedge and a level. The tolerance for flatness in professional sports floors is extremely tight, typically no more than two millimeters over a three-meter span.
Once the floor is level, the panels are sanded to remove any rough edges, splinters, or imperfections. The sanding is done in multiple passes, starting with a coarse grit and progressing to a finer grit. This process creates a smooth, even surface that is ready for finishing.
The finishing stage is where the floor gets its final look and performance characteristics. There are two main types of finishes: lacquer and oil. Lacquer is applied in multiple thin coats, with each coat being sanded lightly between applications. This creates a hard, glossy surface that provides excellent ball bounce and is easy to clean. Oil is applied in a similar manner, but it penetrates the wood rather than sitting on top of it, creating a more natural, matte appearance.
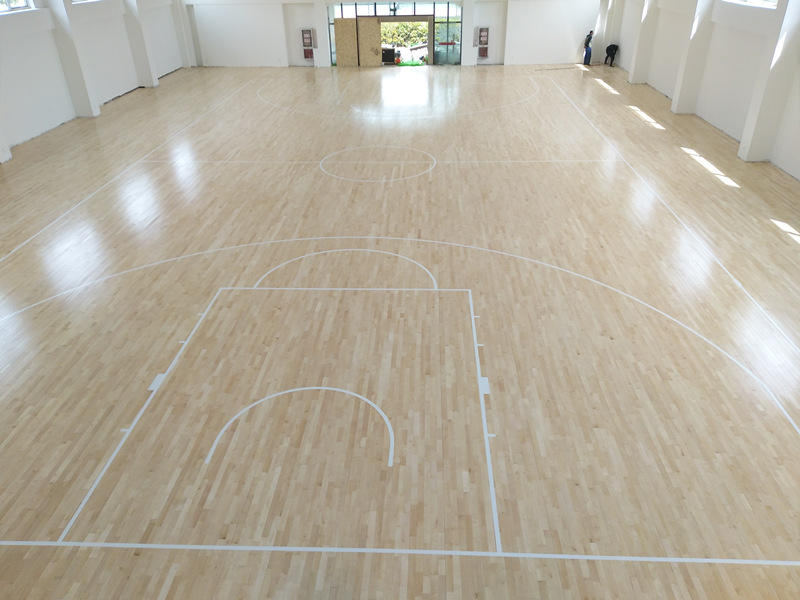
After the finish is applied and cured, the final step is the application of sports line markings. These are the lines that define the boundaries of the court, the free-throw line, the three-point line, and other important markings. The lines are typically painted or taped onto the floor using specialized sports paint that is designed to adhere to the finish without damaging it.
Quality control is performed at every stage of the installation process. The floor is tested for shock absorption, ball rebound, rolling load, point load, and other performance metrics to ensure that it meets all the required standards. Only when the floor passes all the tests is it considered ready for use.
In conclusion, the installation of indoor sports wooden flooring is a meticulous process that requires expertise, precision, and attention to detail. When done correctly, the result is a floor that provides years of reliable performance, safety, and beauty.
Leave a Reply