

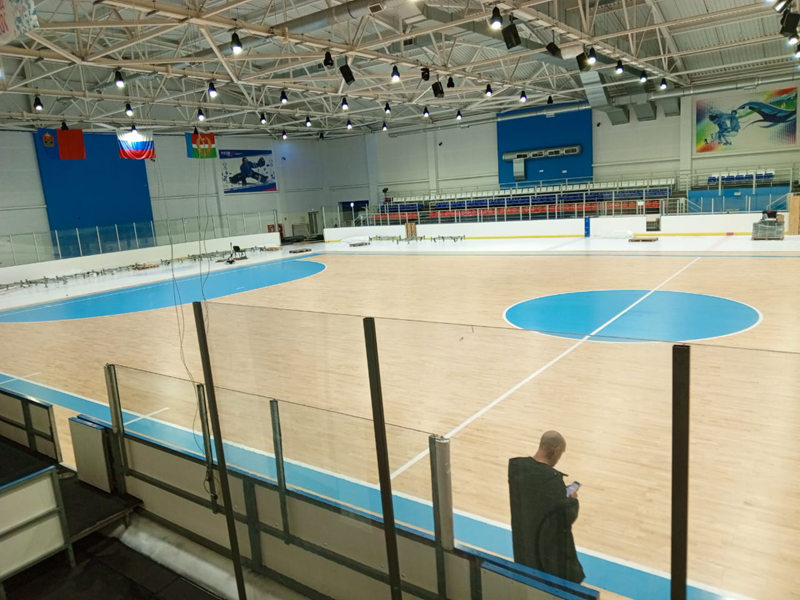
Installing a wood floor for an indoor basketball court is one of the most technically demanding construction projects you can undertake. It is not simply a matter of laying down planks and nailing them in place. The process requires precision, specialized knowledge, and careful attention to every detail. Here is a step-by-step look at how it is done.
The first step is subfloor preparation, and this is arguably the most important phase. The subfloor must be perfectly flat and level. For a basketball court, the tolerance is extremely tight: the entire surface must be level within two millimeters over any three-meter span. Any deviation beyond this will cause the finished floor to have inconsistent ball bounce, which is unacceptable. The subfloor is typically made of concrete or plywood. If it is concrete, a moisture barrier must be installed to prevent moisture from migrating up into the wood. If it is plywood, the panels must be secured and the seams must be taped and mudded to create a seamless surface.
The second step is acclimatization. The wood flooring must be brought to the facility and allowed to acclimate to the temperature and humidity of the space for a minimum of 48 to 72 hours. This is critical because wood expands and contracts with changes in moisture. If the wood is not properly acclimated, it can warp, cup, or gap after installation.
The third step is layout and installation. The wood planks are typically installed using a floating floor system, where the planks are not nailed or glued directly to the subfloor. Instead, they are connected to each other using a tongue-and-groove or click-lock system, and the entire floor floats on top of the subfloor. This allows the wood to expand and contract naturally without being constrained. Alternatively, some systems use a glue-down method, where the planks are adhered directly to the subfloor. The choice between floating and glue-down depends on the specific product and the subfloor conditions.
The fourth step is sanding. After the floor is installed, it must be sanded to create a perfectly smooth, even surface. This is done using a series of progressively finer sanding drums. The first pass removes any high spots or imperfections, and subsequent passes refine the surface until it is completely flat and smooth. This process typically takes several days and requires heavy industrial equipment.
The fifth step is finishing. The sanded floor is coated with a specialized athletic finish. This is not a standard polyurethane. It is a water-based or solvent-based coating that is specifically formulated for athletic surfaces. The finish is applied in multiple thin coats, with sanding between each coat. The final coat provides the ball response and traction characteristics that define a quality basketball court floor.
The sixth step is line painting. Once the finish is fully cured, the court lines are painted using a high-quality athletic paint. The lines must be precise and consistent, as even small deviations can affect gameplay.
The entire installation process, from subfloor preparation to final line painting, typically takes three to six weeks, depending on the size of the court and the complexity of the project. It is a process that demands expertise, patience, and an unwavering commitment to quality.
Leave a Reply