Installing a basketball court wood floor is one of the most complex and demanding projects in the flooring industry. Unlike residential hardwood floors, a basketball court must meet strict performance standards for ball bounce, shock absorption, friction, and durability. A poorly installed court can lead to inconsistent ball bounce, player injuries, premature wear, and costly repairs. In this article, we will walk you through the professional installation process, step by step.
Phase 1: Pre-Installation Planning
Before any work begins, thorough planning is essential. This phase includes:
- Site Assessment: A professional installer will evaluate the existing subfloor (usually concrete) for levelness, moisture content, and structural integrity. The subfloor must be flat to within 1/8 inch over 10 feet and have a moisture content below 3%.
- Design and Layout: The court dimensions, line layout, and logos are finalized. The orientation of the planks (usually parallel to the sidelines) is determined.
- Material Selection: The wood species, finish, cushioning system, and fastening method are selected based on the facility's needs, budget, and performance requirements.
- Acclimation: The hardwood planks must be acclimated to the gymnasium environment for at least 48-72 hours before installation. This allows the wood to adjust to the temperature and humidity of the space, reducing the risk of expansion or contraction after installation.
Phase 2: Subfloor Preparation
- Moisture Testing: The concrete subfloor is tested for moisture using either a calcium chloride test (MoisTure) or a relative humidity test (in-situ probe). If the moisture level is too high, a moisture mitigation system must be installed.
- Grinding and Leveling: Any high spots on the concrete are ground down using a diamond grinder. Low spots are filled with a self-leveling compound. The goal is to achieve a perfectly flat surface.
- Cleaning: The subfloor is thoroughly cleaned to remove dust, debris, and any contaminants. A vacuum and tack cloth are used to ensure a clean surface for the moisture barrier.
Phase 3: Moisture Barrier and Cushioning Installation
- Moisture Barrier: A 6-mil polyethylene sheet is laid over the entire subfloor and taped at the seams. This prevents moisture from migrating up into the wood.
- Cushioning Layer: The shock pads are laid out according to the manufacturer's specifications. They are typically installed in a grid pattern and may be glued or taped to the moisture barrier. The thickness and density of the pads are selected to meet the required shock absorption standards (DIN 18032-2 or ASTM F2772).
Phase 4: Hardwood Plank Installation
There are two primary methods for installing basketball court hardwood:
Method A: Nail-Down Installation
- The planks are nailed directly into the subfloor through the cushioning layer using a pneumatic flooring nailer.
- This method provides a very solid, stable floor but makes future repairs more difficult.
- Nails are typically spaced every 8-12 inches along the joists.
Method B: Floating Installation (Glue-Down)
- The planks are glued to each other (tongue-and-groove) and to the cushioning layer, but not to the subfloor.
- This creates a "floating" floor that can expand and contract with changes in humidity without damaging the subfloor.
- This method is preferred for most professional installations.
The planks are laid in a staggered pattern (usually a running bond or herringbone layout) to ensure structural stability and even wear distribution.
Phase 5: Sanding
This is arguably the most important step in the entire process. The floor is sanded using a series of progressively finer grit sandpapers:
- First Sanding (36-40 grit): Removes any high spots, nail heads, or imperfections.
- Second Sanding (60-80 grit): Smooths out the scratches from the first sanding.
- Third Sanding (100-120 grit): Creates a smooth, even surface ready for finishing.
The entire floor is sanded multiple times, and the surface is checked for levelness using a straightedge and feeler gauge. Any imperfections are corrected before moving on.
Phase 6: Finishing
- Sealer Coat: A thin coat of sealer is applied to fill the pores of the wood and create a uniform base for the finish.
- Sport Finish Application: A sports-grade polyurethane finish is applied using a high-quality applicator (usually a T-bar or lambswool). Multiple coats (typically 5-8 coats) are applied, with light sanding (120-150 grit) between each coat.
- Curing: The finish is allowed to cure for 24-72 hours between coats. The gymnasium must be kept at a stable temperature (65-75°F) and low humidity during this time.
Phase 7: Line Painting and Final Inspection
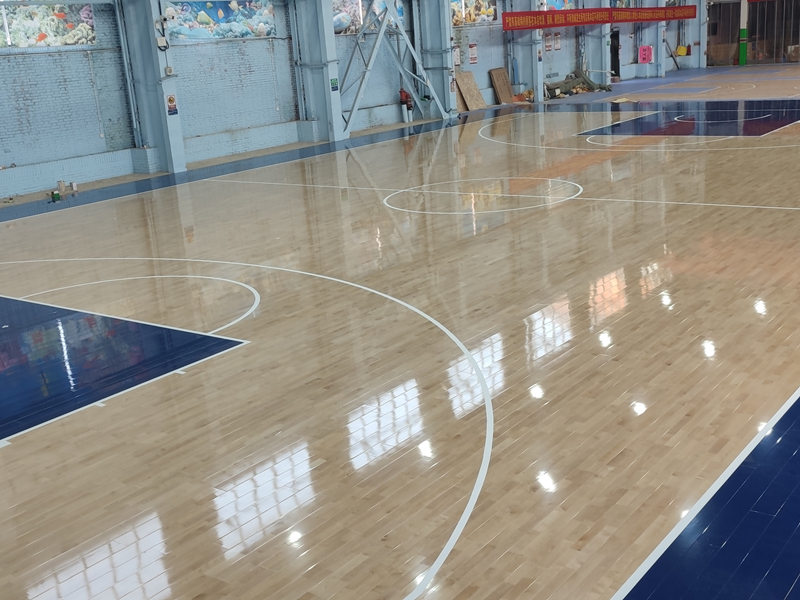
- Line Painting: The court lines, three-point arcs, free-throw lines, center circle, and any logos are painted using specialized sports floor paint. The lines must be straight, even, and accurately placed according to NBA, NCAA, or FIBA specifications.
- Final Inspection: The completed floor is inspected for:
- Levelness (must be within 1/16 inch over 10 feet)
- Ball bounce (must meet FIBA or NBA standards)
- Shock absorption (must meet DIN 18032-2 standards)
- Friction (coefficient of 0.4-0.6)
- Finish quality (no runs, drips, or uneven spots)
Conclusion
Installing a basketball court wood floor is a labor-intensive, detail-oriented process that requires skilled professionals and high-quality materials. Cutting corners at any stage can compromise the performance and lifespan of the floor. When done correctly, however, the result is a world-class playing surface that will serve athletes for decades.
Leave a Reply