Installing indoor sports wood flooring is not like laying laminate in a living room. It is a precise, multi-stage process that can take anywhere from two weeks to six weeks depending on the size of the facility and the complexity of the design. Getting this process right is just as important as getting the materials right. A perfect floor installed poorly will perform worse than a good floor installed well.
The process begins with subfloor preparation. The existing concrete or wooden subfloor must be level, clean, dry, and free of cracks. Any unevenness in the subfloor will be amplified by the flooring system, so leveling compound is often applied. Moisture testing is also critical. If the subfloor has excessive moisture, it will migrate up into the wood and cause warping, cupping, or mold growth over time.
Once the subfloor is ready, the structural system goes in. The main beams are laid first, anchored to the subfloor with specialized fasteners. Leveling shims are used under each beam to ensure perfect horizontality. Then the cross beams are installed on top, creating the grid. Every beam is checked for level and spacing before moving to the next step.
After the structure is in place, the elastic cushion layer is laid. This is cut to fit the grid and placed between the beams. In some systems, it is a continuous sheet. In others, it is individual pads placed at each intersection point.
Then comes the panel installation. The wooden panels are laid one by one, usually starting from the center of the room and working outward. Each panel is tongued and grooved to lock with its neighbors, creating a seamless surface. The panels are not glued to the structure. They float on top, which allows them to expand and contract with humidity changes. Expansion gaps of 6 to 10 millimeters are left around the perimeter to accommodate this movement.
After the panels are in place, the surface is sanded smooth. Then the finish is applied. This usually involves a primer coat, two to three coats of sports-grade polyurethane or UV-cured lacquer, and a final topcoat. Each coat must dry completely before the next one is applied. The entire finishing process can take several days.
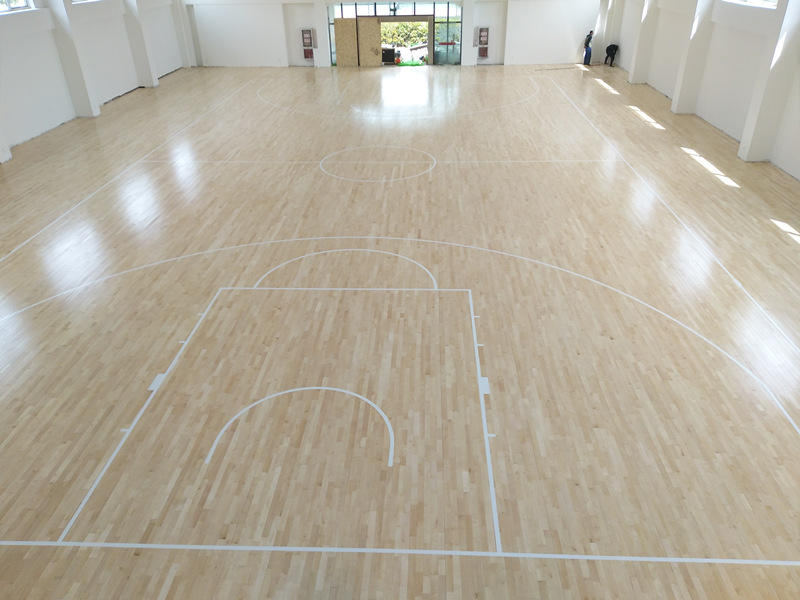
Finally, the floor is inspected. Levelness, flatness, friction coefficient, ball bounce, and shock absorption are all tested against relevant standards. Only when all metrics pass does the project get signed off as complete.
The entire process requires skilled labor. A poorly trained installer can ruin expensive materials in a single day. This is why facility owners should always verify that the installation team is experienced and certified, not just cheap.
Leave a Reply