

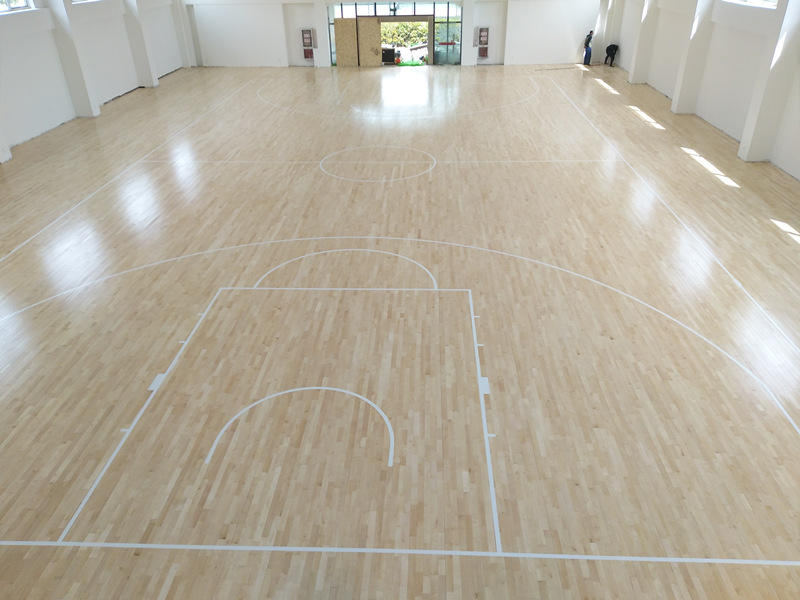
Installing modular indoor basketball wood flooring is a multi-step process that requires careful planning, attention to detail, and a deep understanding of how the entire system works together. The first stage of the project is always preparing the base layer of the indoor space, which involves thoroughly cleaning the existing concrete slab, filling in any small cracks or uneven spots, and making sure the entire surface is completely level and dry. Even a tiny imperfection in the base layer can create problems later on, so installation teams use long straight edges and laser levels to check every square foot of the space before they lay down a single panel. Once the base is fully prepared, teams begin laying down a thin, flexible moisture barrier that prevents any residual moisture from the concrete from seeping up into the wood panels over time. This barrier is absolutely critical, because trapped moisture can cause wood to warp, swell, or develop mold, which would ruin the performance and appearance of the floor. After the moisture barrier is in place, the next step is installing the supporting substructure that sits between the barrier and the wood playing surface. This substructure is made up of lightweight, strong support pieces that create a small gap of air under the wood panels, allowing for proper ventilation and giving the entire floor system the ability to flex slightly under impact. Teams carefully space these support pieces according to strict guidelines, making sure they are positioned to distribute weight evenly across every part of the court. Only after the entire substructure is perfectly aligned do the installers begin laying down the actual modular wood panels. Each panel is carefully positioned, and its interlocking edges are pressed firmly together to create a tight, seamless connection that leaves no visible gaps. Teams work in sections, constantly checking the alignment with levels and measuring tapes to make sure no panel is sitting higher or lower than the ones around it. Once all the panels are in place, the edges of the court are trimmed to fit perfectly against the walls, and the entire surface is sanded down gently to create an ultra-smooth, uniform texture. The final steps involve applying multiple layers of protective finish, allowing each layer to dry completely before adding the next, and then painting on the official court lines and any custom markings the facility wants to include. The entire process can take several days to complete, but every step is essential to creating a floor that performs perfectly and lasts for decades.
The Installation Process of Modular Indoor Basketball Wood Flooring Explained
Leave a Reply