Installing portable basketball court wood flooring is a process that can be completed by a small team with basic tools and some planning. While the exact steps may vary depending on the specific system, the general process follows a logical sequence.
The first step is site preparation. The area where the court will be set up should be as level as possible. While portable systems are more forgiving of uneven surfaces than fixed installations, a flat base will help ensure consistent performance and prevent panels from shifting during play. Any debris, rocks, or sharp objects should be removed from the area.
Next, the support structure is laid down. Many portable systems use a lightweight aluminum or steel frame, or a grid of rubber pads or foam blocks, to create a stable base. This layer also serves as a shock absorber, helping to reduce the impact on players' joints. The support components are typically connected together to form the outline of the court.
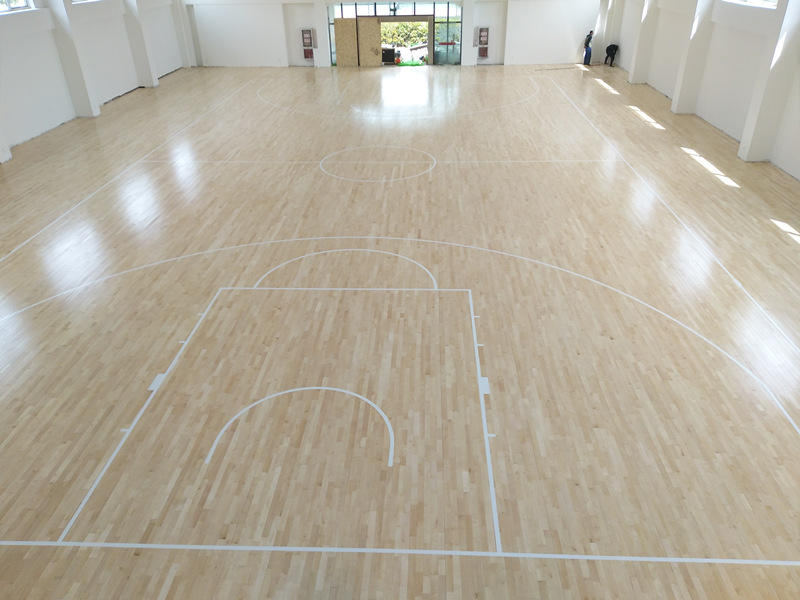
Once the base is in place, the wooden panels are laid out starting from one corner or one side of the court. Most portable systems use a tongue-and-groove or click-lock mechanism that allows panels to connect securely without nails, screws, or adhesives. The panels are fitted together tightly to create a smooth, even surface.
After all panels are in place, the edges of the court should be checked. Some systems include border pieces or trim panels that cover the outer edges and provide a clean finish. These also help prevent the panels from sliding apart during use.
It is recommended to test the court by bouncing a ball in several locations to check for consistent rebound. Any gaps or uneven spots should be addressed before the court is used for play.
Disassembly follows the reverse process, with panels being unlocked and stacked for storage or transport. With practice, a team of four to six people can set up or take down a standard-sized portable court in a few hours.
Leave a Reply